


I’m so excited about sharing today’s Friday Inspiration! I don’t know about you, but I LOVE an easy craft! I love being able to make something useful/pretty! I’m not always good at finishing projects that take too long (my mom can probably testify to that!) but this one was an easy and quick craft! These are great as gifts, favors, or even mother’s day coming up!
Things you’ll need:
- Sculpey Clay (I found some at Hobby Lobby and used their 40% off coupon online that you can ALWAYS use!)
- Sculpey Glaze (Hobby Lobby)
- Small Paint Brush
- Tooth Picks
- Rolling Pin
- Burlap (you can use whatever texture you want, stamps work great also!)
- Stamp Letters (Michaels, but you can find them at any craft store)
- Sand Paper (or nail buffer)
- Acrylic Water-based paint
- Cookie Cutter (I used glass vase that ended up having the perfect diameter
- Oven-safe glass dish
- Parchment Paper (optional)
- An oven!
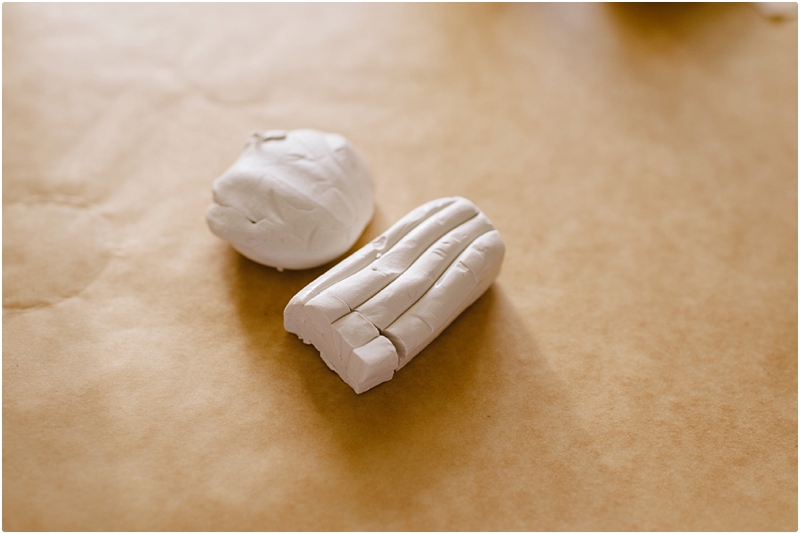
Work the clay to get air bubbles out and soften.
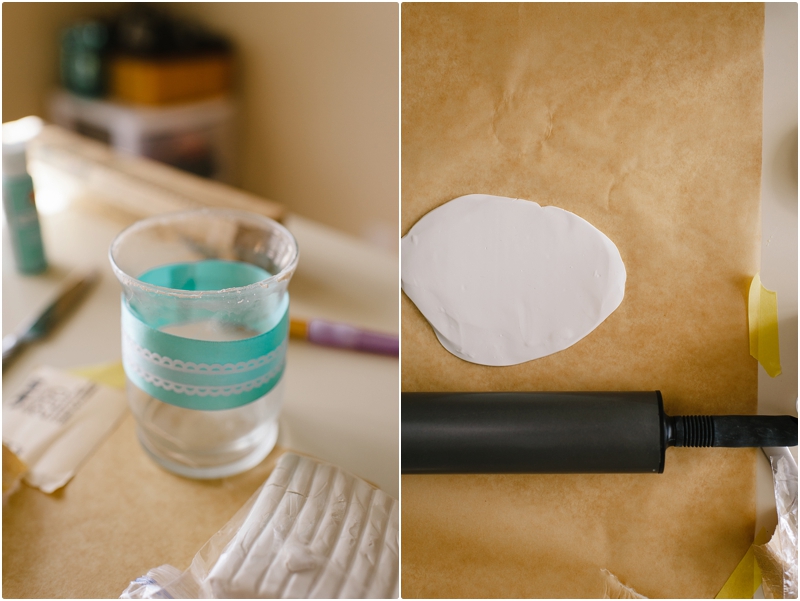
Roll clay to about 1/4 inch thickness – I’ve seen some tutorials where people put their clay through a pasta machine! I taped down some parchment paper for an easier cleanup!
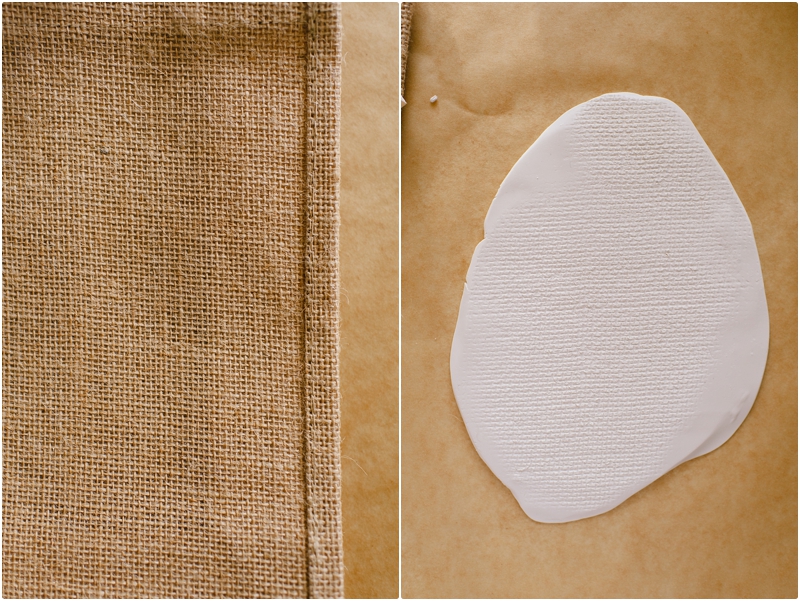
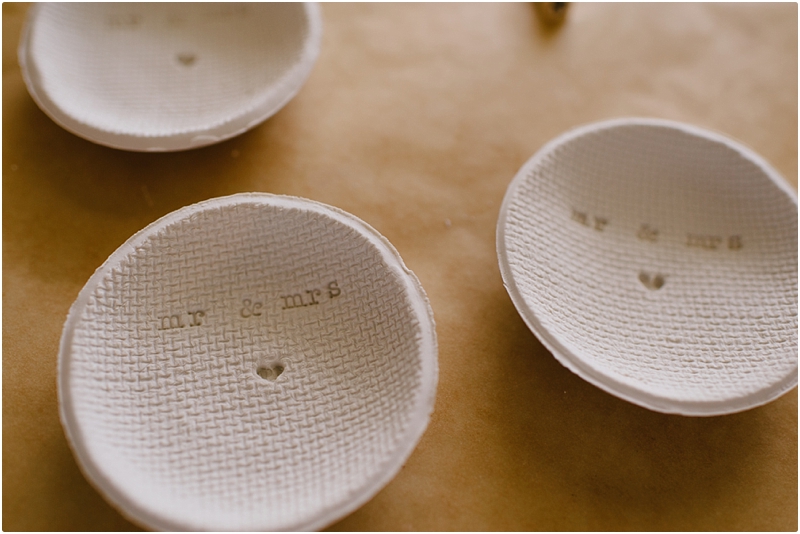
I used some burlap to get the texture I wanted. You can really do whatever you want, stamps works well too. The end of this post has some different designs and Pinterest has some great ideas!

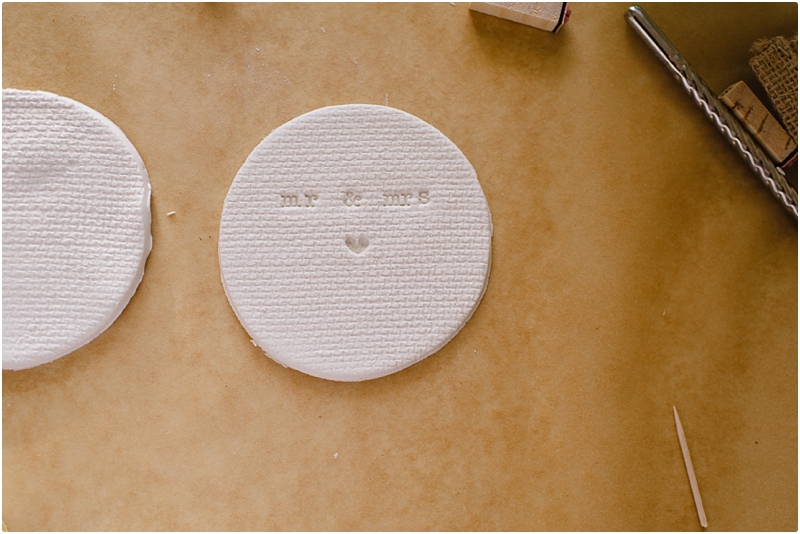
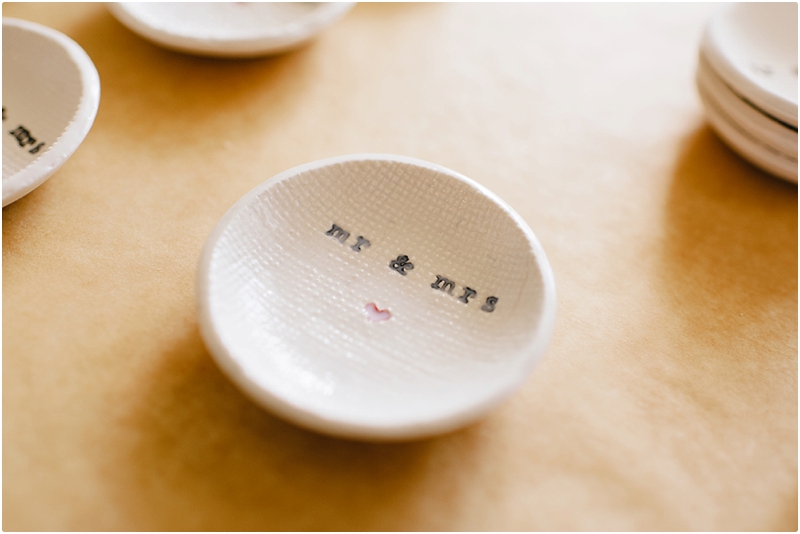
I found this little vase had the perfect diameter for the dish size I wanted to make and also fit perfectly into the over-safe glass dishes I used. Diameter of this is just under 3.5 inches.
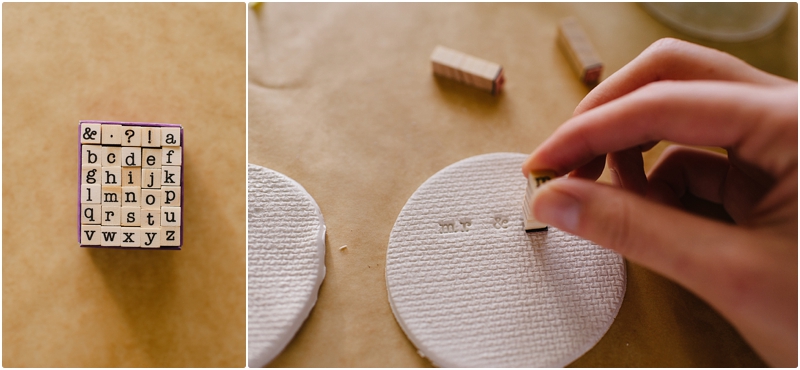
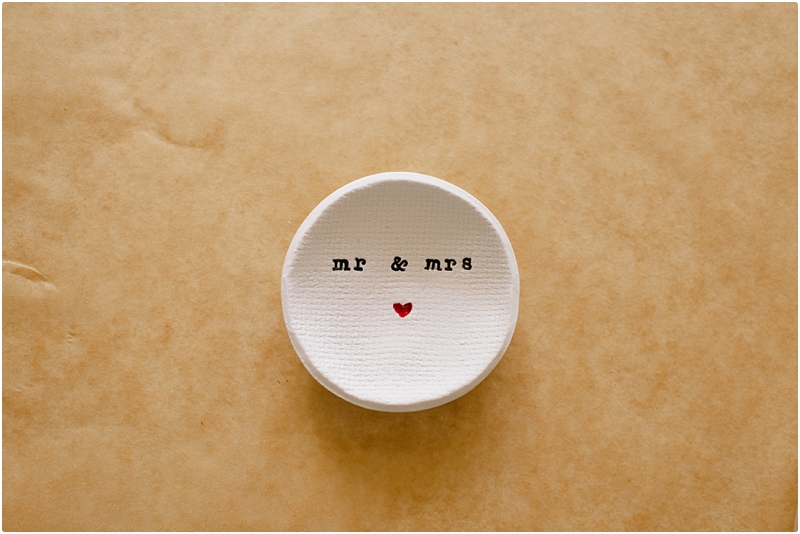
I love this type-writer font!
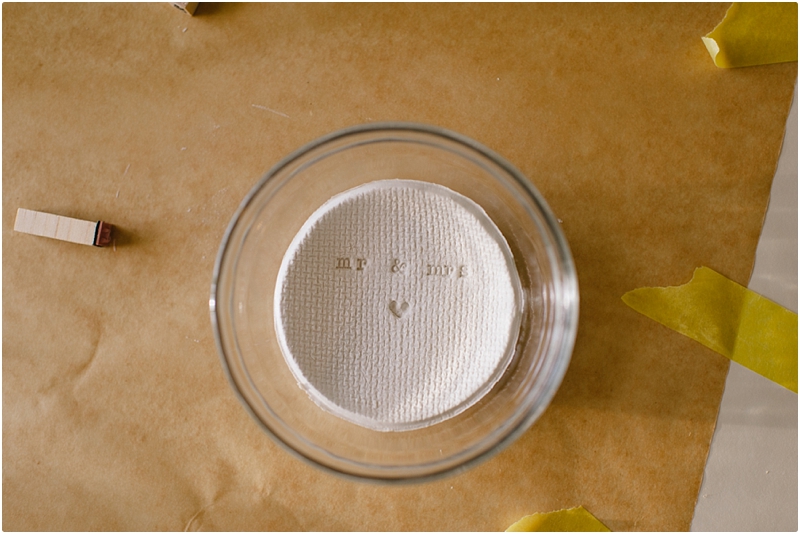
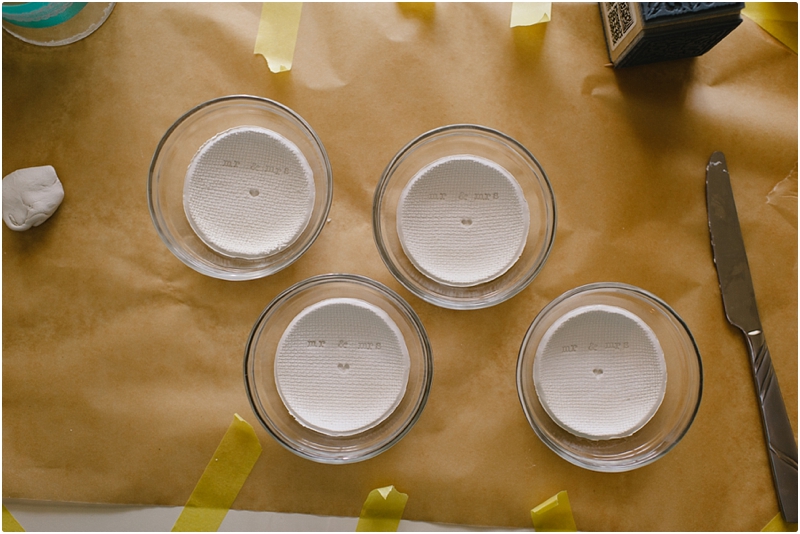
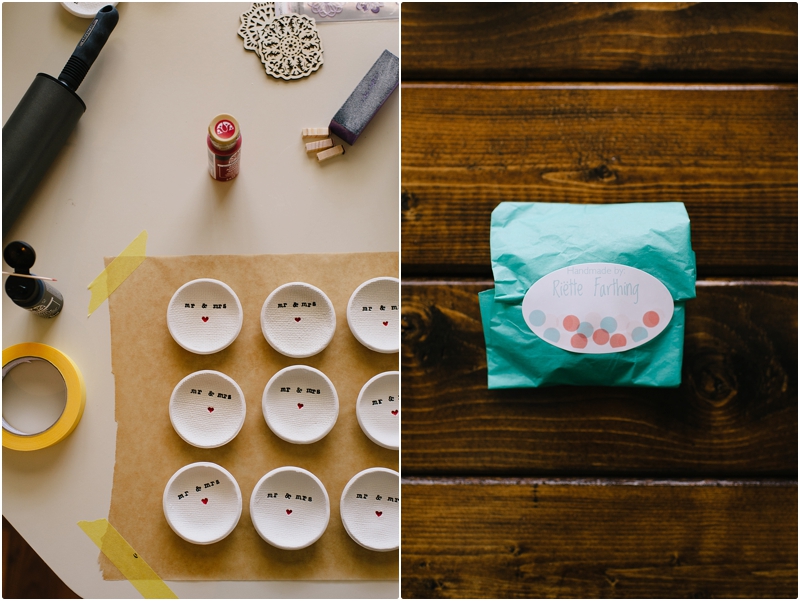
This glass dish has a 4 inch diameter so it allowed my clay circles to rest in the bottom but curve up a little since this clay flattens out if it’s not being help up by something while baking. It’s ok for the edges to be a little rough – we’ll sand those down later!
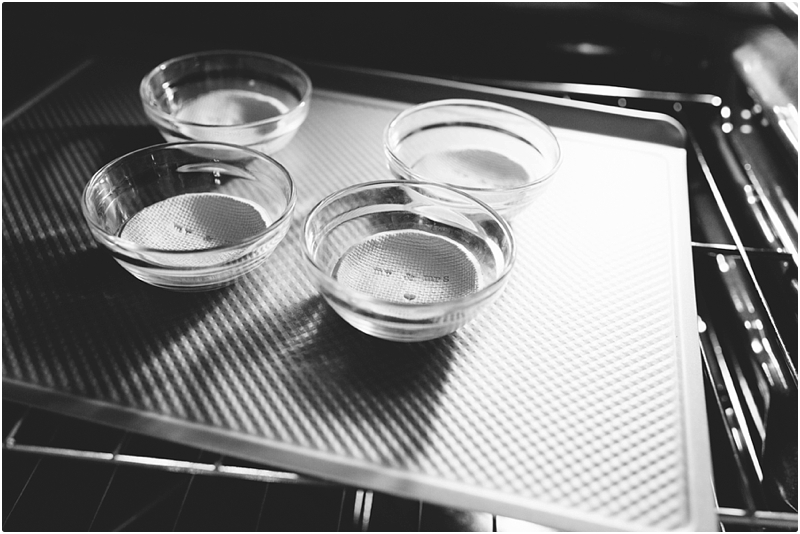
Baking in the oven at 275F for 15 minutes!
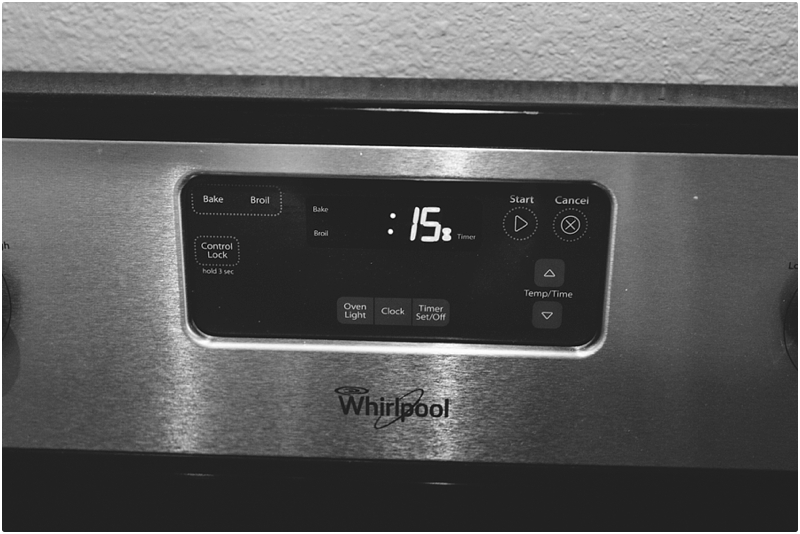
Now you have 15 minutes to make your next set or to try to get your hands cleaned…. our dish soap worked well but not any of our hand soaps. If your dish soap doesn’t do the trick, hand sanitizer apparently does!
Once they come out, I let them cook inside the dish for a few minutes and then once they’re cooled down I take them out and let them sit another 15 minutes or so to cool even more. When they’re warm, they’re still a little flexible which makes the sanding difficult.
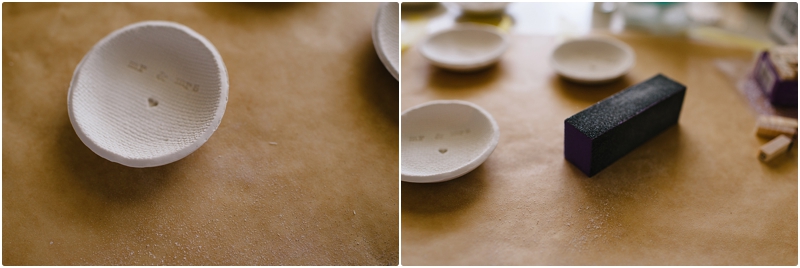
I used a nail buffer to sand down the edges/bottom of the dish. Sand paper works just fine also, I just found the buffer to be easier to hold.
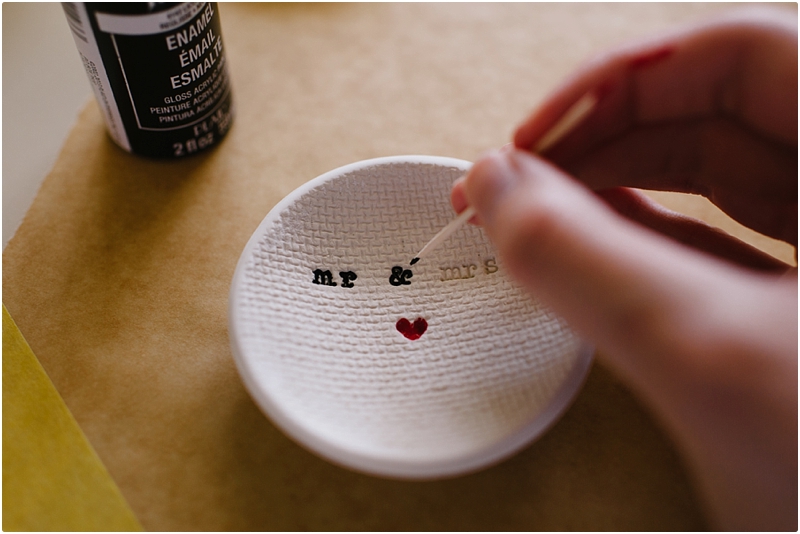
After sanding, make sure all the dust is off (you can run it under water and let it dry or just dust it off well. I then used a toothpick to do the lettering.
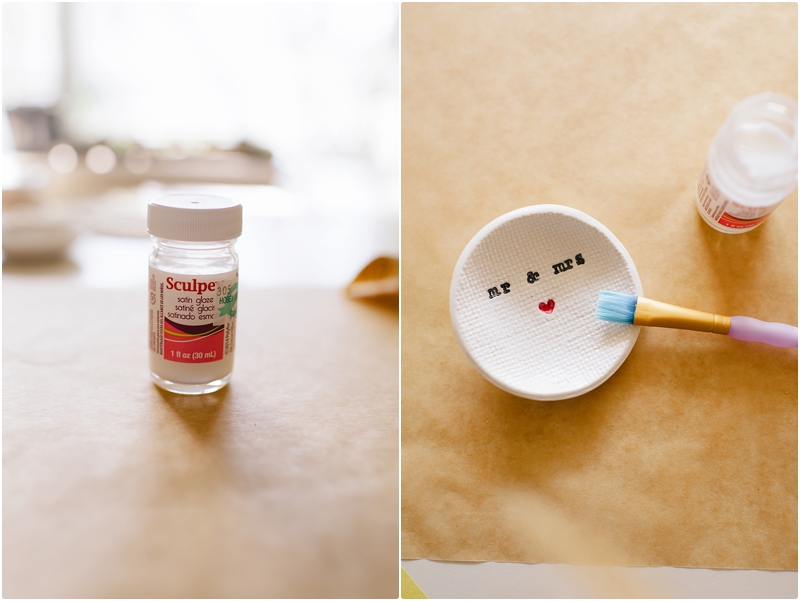
Once it’s all dry I used Sculpey brand glaze (I chose satin) to give the bowls a little shine/finish.
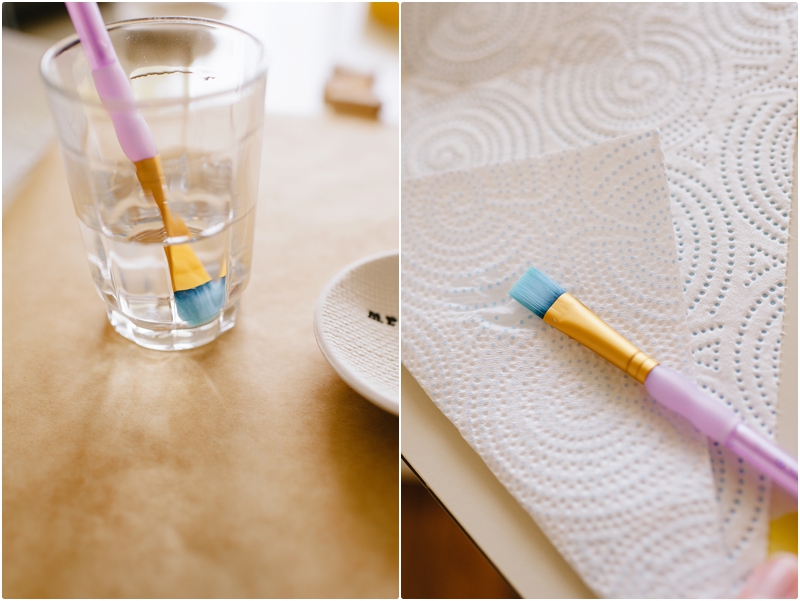
Random tip, if you wet your brush first and dab it dry on a paper towel, you’ll less likely to get air bubbles in your glaze.
The glaze will make it look milky, but don’t worry, it dries clear! According to the bottle, you have to let it dry for 30 min. but I found the lettering parts took up to a day to become completely clear, though it was touch-dry within 30-45 minutes. At that point I flipped them over and sealed the back also!

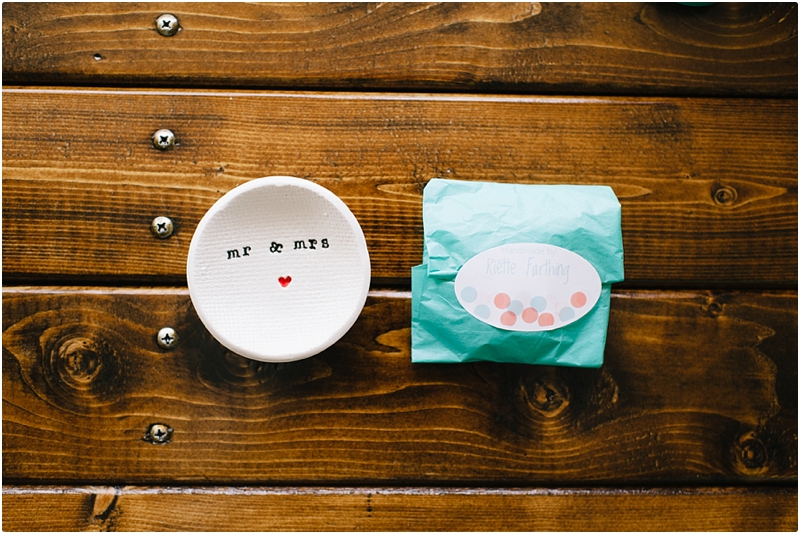
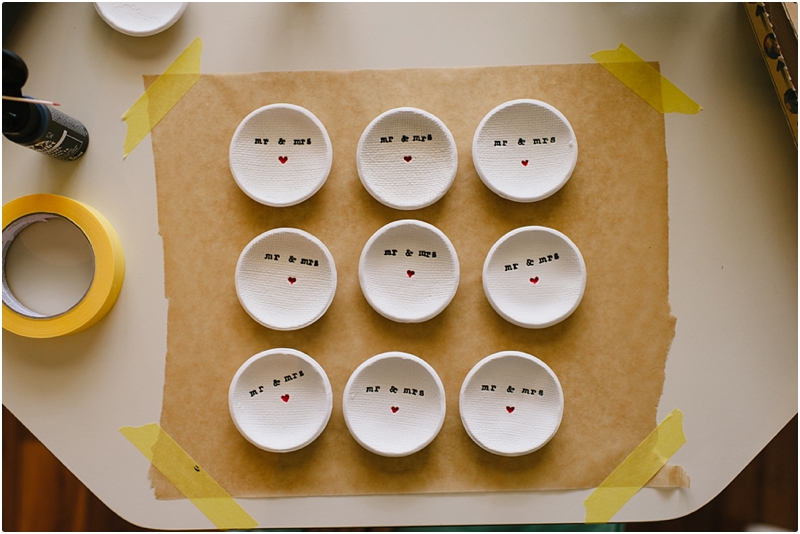
And so… every client gets one of these in their welcome packet! I just mailed out all my 2014 clients’ packages this week and hopefully they’ve all gotten them before seeing this post!
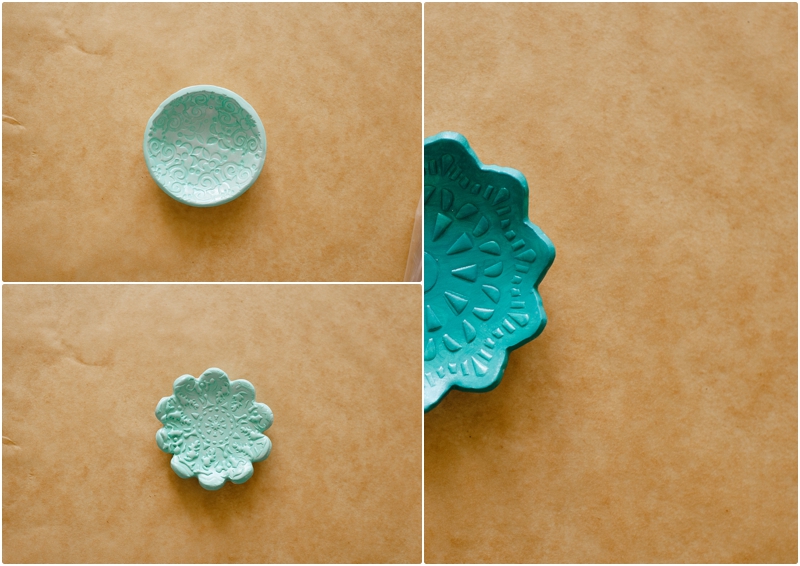
Here are some others I made using stamps!
April 10th, 2015 at 12:53 pm
This is such a neat idea. I love the idea of making it yourself and gifting it to clients! Thanks for sharing!
April 10th, 2015 at 10:18 pm
Wow! What a fantastic idea… so creative and so pinterest-worthy!